Kids are natural inventors. They’re born creative, and they think outside the box all the time because they haven’t figured out what the box is yet!
Over the years, kids have come up with tons of unique, useful invention ideas, from the popsicle (really!) to hydration backpacks for kids going through chemotherapy.
Even if they don’t come up with a treat that remains popular for more than a century, a lot of kids are idea factories, constantly brainstorming ideas for things that haven’t been invented yet (like trading-card holders and cereal catapults).
Looking to nudge your kids to put their creativity to good use?
Try these invention ideas for kids. They’re great for a free afternoon or weekend, or for students looking for unique school projects!
Key Takeaways
- Kids are naturally creative, and encouraging their creativity helps them stay that way longer.
- Inventing helps kids learn creative problem-solving, one of the most important skills for the 21st century.
- Kids can come up with all kinds of inventions at home using everyday items.
- Repurposing household items trains their brain to look at the world without rigid boundaries or judgment.
- An invention doesn’t have to work perfectly to be a success. Critical thinking and troubleshooting are what actually build skills.
- You can encourage creativity and real-world problem-solving at any age.
Table of Contents
Why Invention Ideas Matter
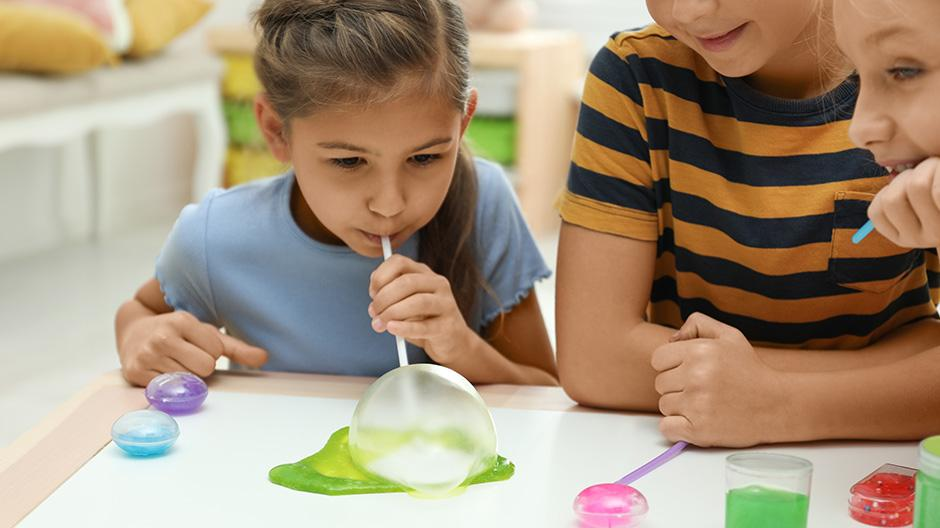
When a kid invents something, it often looks like they’re just cobbling things together randomly through play. And they usually are! But they’re also flexing their divergent thinking, an essential creative skill.
Divergent thinking involves coming up with lots of creative ideas without judgment. It’s what lets kids use things for purposes they weren’t originally designed for, like combining a toy that straps to their wrist and elastic hair ties to create a convenient, fashionable (to them, at least) way to carry trading cards.
7 Invention Ideas for Kids
Because inventing works so well for building creativity (plus other essential skills, like critical thinking), simple invention activities are often used in classrooms. You might recognize some of these classics from your own childhood, and they work great at home!
1) Egg Drop Challenge
What You Need
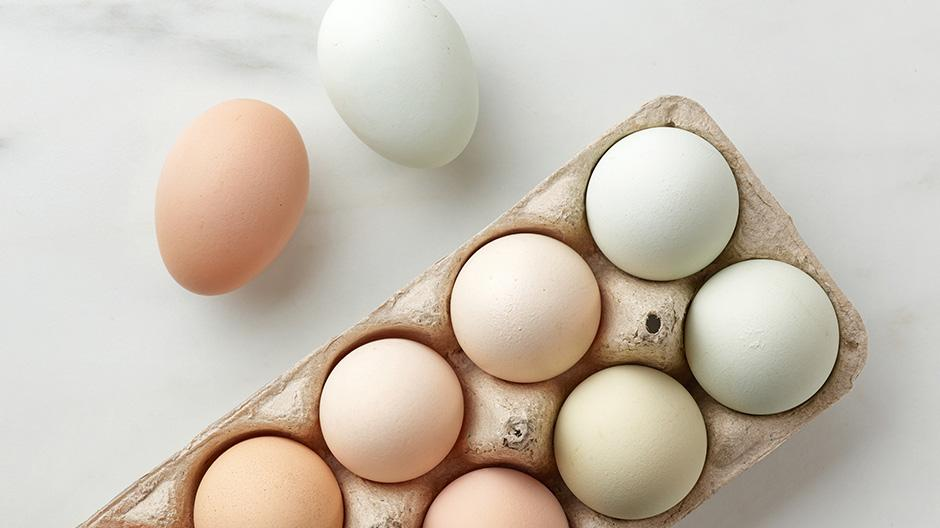
- Small cardboard box (1 per child)
- Egg (1 per child)
- Extra cardboard, tissues, rags, plastic grocery bags, cereal, rice, or other soft items
- Scissors
- Tape
What to Do
Like most inventions, the egg drop challenge starts with a problem: How can you keep an egg from breaking when you drop it? Sometimes it helps to present the challenge as a mystery, placing everything on a table and telling the kids, “You’ve got everything here you need to invent something that will keep the egg from breaking when I drop it. See what you can come up with!”
Kids usually get the hang of the challenge pretty quickly, though you might break a few eggs while they find their way. If they’re struggling, guide them toward filling the cardboard box with tissues or plastic bags fluffed up enough to slow the egg down gently when it falls.
Tips
Do your best to let the kids be creative—they may ask if they can use items you didn’t think of. If you don’t mind discarding or washing something if it doesn’t work, go ahead and let them try!
Try encouraging scientific thinking by asking the kids to make a hypothesis about what will happen with their invention, and why!
To make the challenge harder, take away the cardboard box and see if the kids can invent a way to protect the egg without it.
2) Creative Marble Run
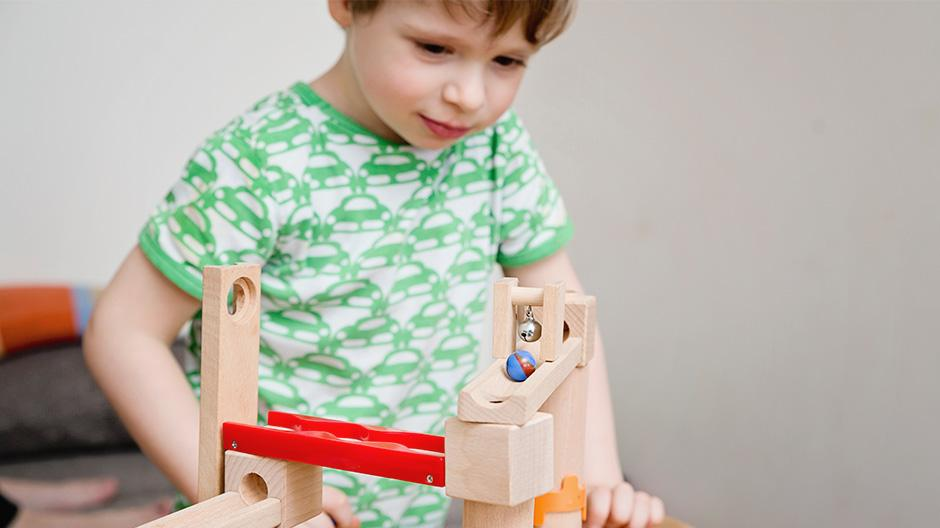
Marble runs are great toys, but you don’t need a custom-built set to make one! Kids can invent their own with things around the house and a little ingenuity.
What You Need
- Marbles
- Masking tape
- Cardboard tubes (paper towel rolls, toilet paper rolls, etc.)
- Newspaper, magazines, or other thick paper
- Plastic bottles
- Tape
- Scissors
What to Do
Like the egg drop, this one often works best if it’s posed as a challenge.
Gather your materials, then make two X’s out of masking tape in the room you want the kids to work in. One X should be the marble run’s start point and the other its finish line.
Then ask the kids to invent a way for the marbles to get from the start to the finish. Make sure the start is well above the finish and not too far away, then let them get creative!
Tips
Younger kids will probably need some help with this one.
You can cut the tops and bottoms off plastic bottles for them so a marble can move through, show them how marbles roll through the cardboard tubes, and teach them to make runs by folding newspaper or magazine pages into a V and securing the ends with masking tape.
Then let the kids tell you which pieces to put where. The fastest way between the start and the finish might not take the kids too long to figure out.
Once they do, try adding other challenges to keep them on their toes, like “Now try it with no cardboard tubes,” or “Now try it using at least two plastic bottles.” Or can you add additional waypoints for them with more X’s made from tape.
Challenge older kids by not gathering the materials for them—see what they can come up with on their own!
3) Let’s Solve a Problem

Many of the best inventions start with a problem that needs to be solved. And kids, in addition to being top-notch at creative thinking, are often pretty good at identifying problems. This idea plays with that in ways that can be fun for the whole family.
What You Need
- Something to make a list with
- Timer
- Time and space for kids to invent
- Items for kids to use
What to Do
At the start of the week, tell the kids you’re going to make a list of problems that come up, and that later you’ll make inventions to solve them. If you can, post the list somewhere the kids can see it every day.
As problems come up during the week (“MOM! I can’t find my SHOES!”), add them to the list.
When you’re ready to invent, get the list out and read through the problems.
Challenge each kid to pick one and see how close they can get to solving it with an invention before the timer runs out. Then set the timer (we suggest 15–20 minutes depending on their age, but you know your kids best) and let them loose!
Tips
Make sure there are a few problems on the list you think your kids have a good shot at solving. (It can help if you have an invention idea or two yourself to get them started.)
If this activity seems too free-form for your family, try setting some limits, like “Use only things you can find in your room” or “Use only things you can find in the playroom.”
Don’t expect a working invention as the finish of the activity. Often kids will lose interest partway through, and that’s OK!
Most of the great creative thinking happens at the start of the activity, before kids run into the practical realities of not being able to find things or their ideas not working.
4) Slip-Proof Socks
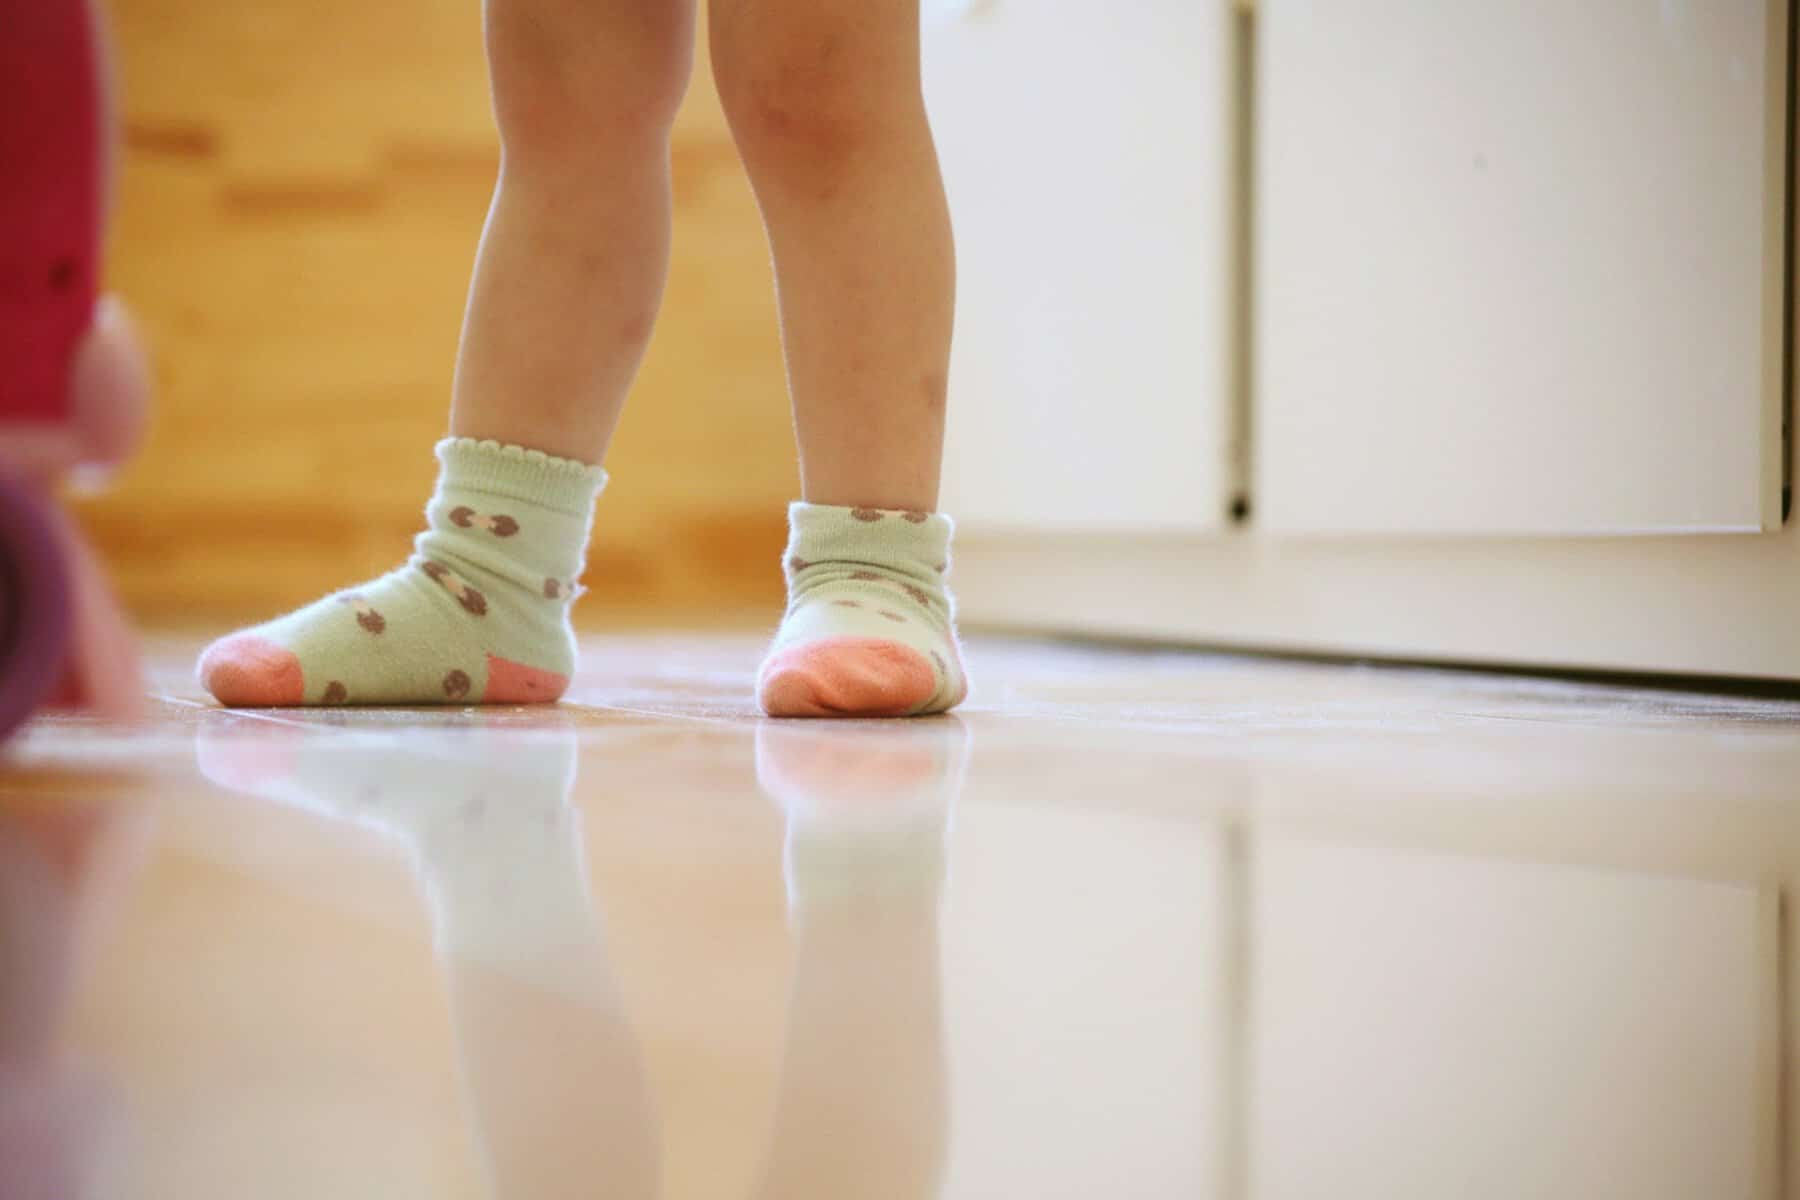
Rushing around on a hardwood floor wearing socks is a recipe for slips and falls!
With this quick and fun invention, you can transform any pair of socks into the ultimate slip-proof footwear. It’s a super simple way to get your child’s invention juices flowing while adding some personal flair to their wardrobe.
What You Need
- Pair of socks
- Puffy fabric paint or dimensional fabric glue
- Large piece of thick cardboard
- Scissors
- Markers for sketching designs
What to Do
- Trace the outline of your child’s feet onto the cardboard.
- Cut out those shapes.
- Slide the cardboard cutouts inside the socks (this is important because it flattens the bottom of the socks and prevents paint from bleeding through).
- Make sure the bottoms of the socks are facing up.
- Using the markers, sketch out what you want the design to look like.
- Paint over the sketch with the puffy fabric paint.
- Once you’re finished painting your design, let the socks dry completely for at least 24 hours before removing the cardboard and taking the socks for a spin.
Tips
Make sure you don’t apply the fabric paint too thinly. Thicker lines and dots will create a much better grip and will last longer. To protect the puffy paint, always turn the socks inside out before washing and let them air dry.
Good design options include a geometric grid, a name, a favorite word, stars, or a funny pattern.
5) Silent Shoes
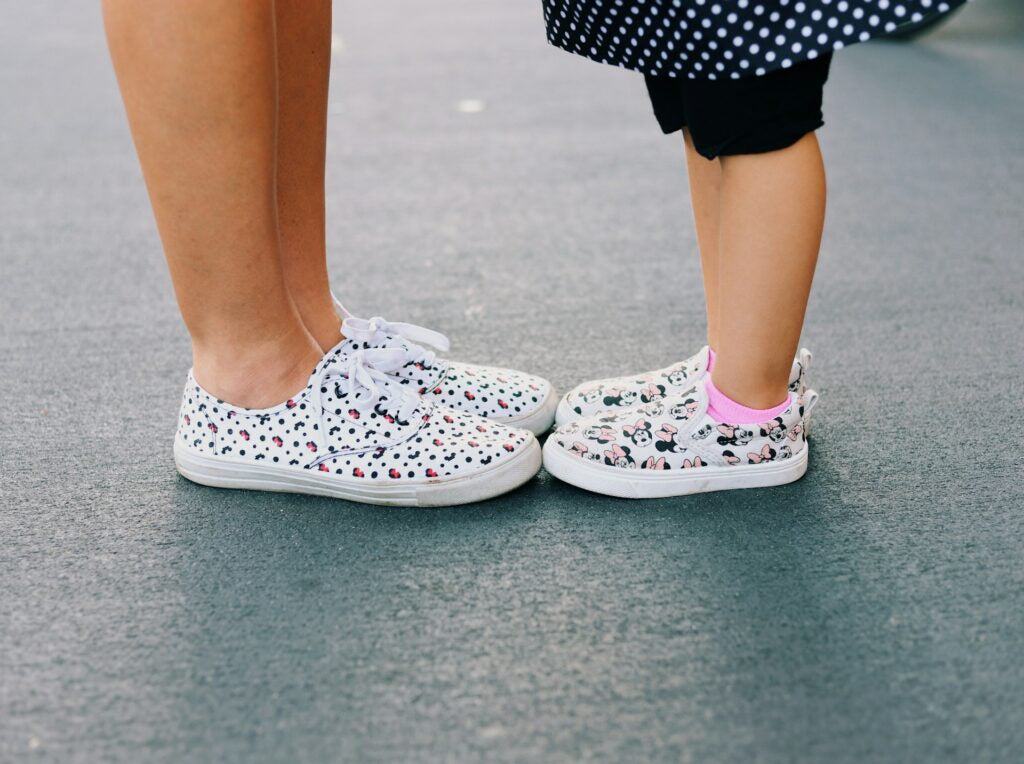
Whether you and your child are playing an epic game of indoor hide-and-seek or you just want your child to walk around the house without waking everyone up, loud footwear can be a big problem.
This easy project allows you to modify your child’s favorite shoes to make them completely silent, teaching them all about sound absorption in the process.
What You Need
- A pair of shoes
- Thick felt sheet or craft foam
- Double-sided heavy-duty mounting tape or hook-and-loop fasteners
- Scissors
- Pencil
What to Do
- Place the shoe flat on top of the sheet of felt or foam.
- With the pencil, trace the outline of the heel and the ball (front) of the shoe.
- Cut out the shapes you just traced.
- Apply strips of double-sided tape to the bottom of the shoe where the felt will go.
- Press the custom-cut felt or foam onto the tape.
- Give it a few hard presses to make sure everything sticks.
- Put on the shoes and try walking across the hardest floor in the house.
- Now you’re a ninja!
Tips
If you want to be able to switch back and forth between regular shoes and silent shoes, use hook-and-loop strips instead of permanent tape. That way, you can remove the felt pads when it’s time to go outside and stick them back on when it’s time to come inside.
6) DIY Earmuffs
When winter weather arrives and the chilly wind starts blowing, your child’s ears are often the very first things to get cold. Buying standard earmuffs from the store is fine, but constructing their own allows your child to customize the fit, fabric, and style.
This project is a wonderful introduction to basic assembly and engineering comfort, helping your child explore how different materials insulate heat to keep them warm.
What You Need
- Plain, flexible plastic headband
- Large cotton balls or makeup rounds
- Cozy fabric scraps (like fleece, flannel, or faux fur)
- Felt sheets
- Scissors
- Glue
What to Do
- Cut out four matching circles from the felt sheets, making sure they are slightly larger than the size of your child’s ears.
- Take two of the felt circles (one for each ear) and glue a generous handful of cotton balls or padding in the center.
- Wrap the cozy fabric scraps around the felt circles to create two cushions.
- Glue the edges to the sides that will be away from the ears.
- Glue the headband to the outside of the cushions.
- Glue the other felt circles onto the sides that will be away from the ears (covering the outside of the headband as well).
Tips
To make sure the earmuffs are comfortable, try on the headband before you glue anything in place. This will give you an idea of where it rests against the ear.
If the headband feels a little tight or pinches, gently flex it back and forth a few times to loosen the plastic before gluing everything together.
7) Glove-Drying Machine

There are few things worse than pulling on a pair of winter gloves only to discover that they’re still wet inside from yesterday’s snow adventure.
Because gloves are closed off at the fingertips, air has a really hard time circulating all the way into the deep fabric. This glove-drying machine uses a fun design to channel warm room air directly to the tips of your wet gear.
What You Need
- A medium-sized plastic storage bin with a lid that you don’t need for anything else (you’re going to cut holes in it!)
- A small desk fan or a portable battery-operated fan
- PVC pipes or empty plastic water bottles with the bottoms cut off
- Strong duct tape
- Scissors (use only with adult supervision)
What to Do
- Trace the shape of the fan’s airflow circle on one side of the plastic lid (Hint: the fan will sit face down on the lid).
- Carefully cut out that circle using the scissors.
- Cut two smaller holes on the opposite side of the lid for the PVC pipes or plastic water bottles.
- Insert the pipes into these holes so they stand straight up like chimneys.
- Secure them around the edges with plenty of duct tape to prevent air leaks.
- Place the fan face down over the large hole so that it blows air directly down into the container.
- Secure it to the lid with tape.
- Put the lid on the container (if the lid is off).
- Slide the wet gloves upside down over the pipes and turn on the fan.
- The fan will push air into the box, up through the pipes, and straight to the glove fingertips.
Tips
For the fastest drying time, place the glove dryer near a home heating vent where it can pull in warm air. For safety reasons, never place it directly on or touching the heating source.
Make sure the pipes aren’t pushed so deeply into the gloves that they completely block the air from escaping around the wrists.
More Ways to Create with Begin
Coming up with cool invention ideas isn’t the only way for kids to stretch their creativity.
With Begin’s age- and stage-matched learning tools, they’ll build projects with award-winning hands-on activity kits from Little Passports, make their own video games with codeSpark, try their hand at digital art with HOMER, and more.
Take our online quiz and find out which stage of the Begin membership is the right fit for your family today!
Frequently Asked Questions
What skills are developed when creating and developing inventions?
When kids dive into inventing, they aren’t just having fun or making a mess on the kitchen table. They’re actively building real-world skills, such as spatial reasoning, fine motor skills, iterative design (i.e., troubleshooting), executive functioning, resilience, and growth mindset.
They’re also building confidence in their own abilities and, when they tell others about their inventions, communication skills that will serve them well as they grow up.
What should I do if my child gets frustrated when their invention fails?
Failed experiments are actually a secret superpower that teaches resilience and provides ideas for what to try next.
If your child is frustrated or gets discouraged because their invention didn’t work on the first try, take a deep breath, validate their feelings, and then help them reframe their thoughts and perspective to see the failure as a positive.
Introduce the concept of “rapid prototyping” by breaking the problem down into small components that they can easily fix or switch out. Make the problem into a game by asking, “What’s one piece we can change right now to see what happens?”
Ultimately, you want to shift the focus away from a perfect final product and celebrate the process of making minor tweaks.
Are there simple, everyday items we should start collecting to build an “Invention Toolbox”?
Absolutely! You don’t need a fancy lab or expensive tools to cultivate these (or any) invention ideas for kids. In fact, some of the best engineering minds started out using recycling bin treasures!
To build an “Invention Toolbox,” start collecting pipe cleaners, colorful painter’s tape, rubber bands, paper clips, binder clips, clothespins, empty plastic jugs, sturdy shoe boxes, egg cartons, hole punches, child-safe scissors, plastic rulers, blocks, and dowel rods.
Store them all in a large plastic storage bin and then let your child dig through it to spark their imagination.
At what age can kids start coming up with their own invention ideas?
Kids can start building an inventive mindset through imaginative play as early as preschool! While an 8-year-old or a middle schooler might build a more complex invention, younger kids (ages 3 to 5) excel at the imaginative brainstorming stage.
You can foster this flexible thinking by asking open-ended questions during playtime, like, “If this plastic cup wasn’t a cup, what else could it be?” or “How could we invent a way to get your stuffed bear across the room without touching the floor?”
At this stage, the goal isn’t perfectly functional engineering. It’s building the creative confidence to know that their ideas have value and can be made real.