Young children are STEM experts without even trying! They’re naturally drawn toward designing, building, and problem-solving. They ask questions about the world, experiment with answers, and (definitely!) test assumptions.
How can you help nurture those interests and skills in your child? Introduce them to STEM activities!
Through hands-on projects, experiments, and activities, your child can deepen their creativity, logic, and reasoning skills. And research shows that STEM activities are a positive predictor of academic success.
We’ve put together 10 engaging STEM activities you can do at home with your child.
Key Takeaways
- STEM activities integrate science, technology, engineering, and math and emphasize hands-on, process-focused learning.
- STEM activities can range from building with blocks to exploring surface tension with tissue paper and water, and are designed to activate your child’s curiosity, creativity, question-asking, and desire to explore.
- Help your child get the most out of their STEM experiences by focusing on process over product, embracing messiness, following your child’s interests, and asking open-ended questions.
Table of Contents
- Why STEM Activities Matter
- 10 Easy and Engaging STEM Activities to Try with Your Child
- Tips for Successful STEM Experiences
Why STEM Activities Matter
STEM activities (an integration of science, technology, engineering, and math) are a natural way for kids to explore the world around them. The hands-on approach of STEM taps into kids’ inherent curiosity, and its foundation in play keeps them engaged and having fun.
As kids do STEM activities, they develop important problem-solving, logical thinking, and reasoning skills. They also stretch their creativity muscle as they try new ways of doing things.
10 STEM Activities for Kids
Here we’ve put together 10 STEM activities designed to activate your child’s curiosity, creativity, question-asking, and desire to explore.
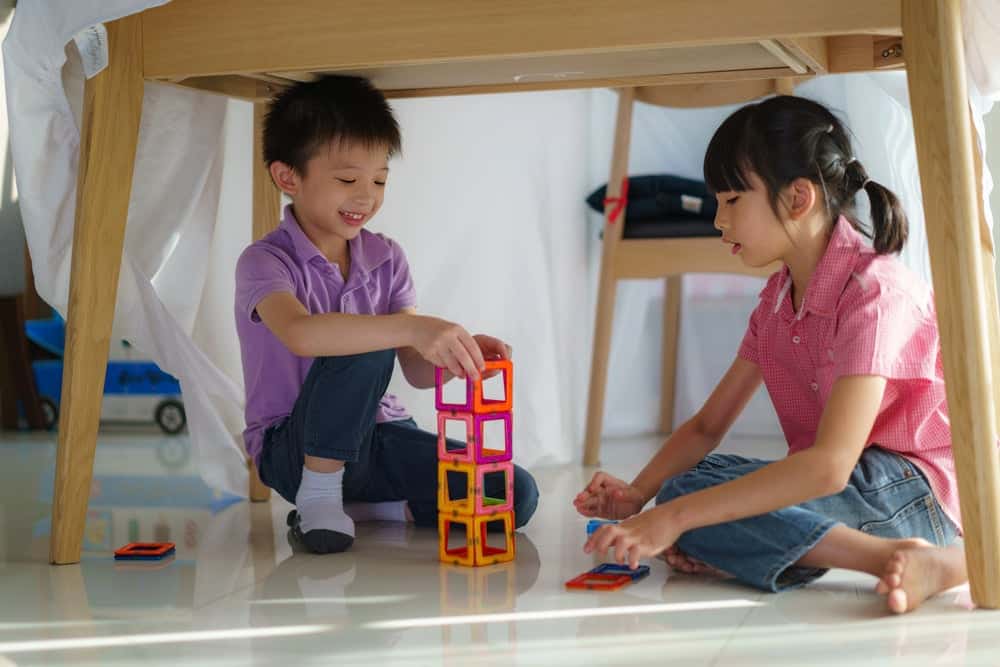
1) Play with Blocks
What You’ll Need
- Blocks
What to Do
- Sit with your child and explore the blocks together.
- Ask them open-ended questions, like “What are you building?” and “How are you going to make that balance?”
- Explore ways to play together, like collaborating on a structure or posing a challenge. (“How tall can you build a tower?”)
- Incorporate math as you play. Count the blocks, talk about balance, and compare and contrast.
2) Create a Rainstick
What You’ll Need
- Paper towel tube
- Paper
- Tape
- Markers
- Tin foil
- Nut shells (like pistachios)
What to Do
- Twist a piece of tinfoil into a 10-inch long stick shape. Turn it into a spiral by wrapping it around a thick rod, like a broom handle.
- Twist a second piece of tinfoil into a seven-inch stick shape. Turn it into another spiral by wrapping it around a smaller rod, like a pencil or straw.
- Place the smaller spiral into the larger one.
- Make caps for the ends of the paper towel tube by tracing the ends onto a piece of paper and cutting out the circles.
- Tape one circle to one end of the paper towel tube.
- Place the tinfoil spirals into the paper towel tube.
- Pour in a quarter of a cup of shells.
- Tape the other paper circle to the open end of the paper towel tube.
- Decorate the tube using markers.
- Tip the tube upside down and back again to hear the sound of the rain!
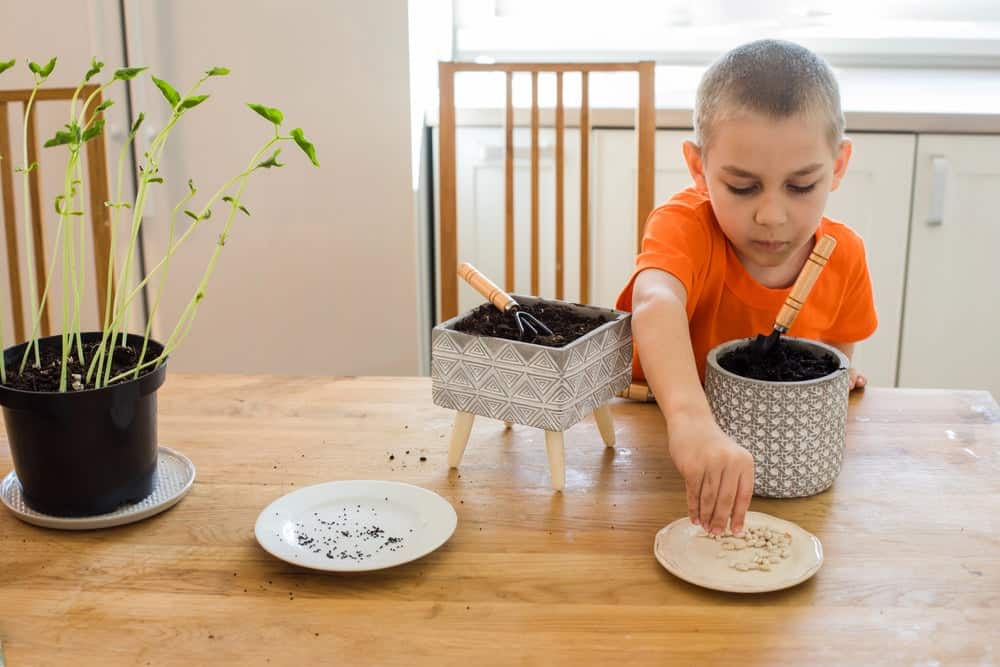
3) Grow a Plant
What You’ll Need
- A pot (or space in a garden)
- Seeds
- Soil
- Water
- Paper
- Marker
- Ruler
What to Do
- If you’re using a pot, fill it with soil.
- Gently push a few seeds into the soil in the pot or garden bed. Some good choices include: sunflowers, zinnias, green beans, and oat grass.
- Water the seeds once a day.
- Watch for sprouts to appear. (Give it a couple of weeks.)
- Ask your child to measure the sprouts and record the number.
- Do this every day to see how fast the sprouts grow.
- A variation: plant a few pots and experiment with watering one excessively, withholding water from one, or using a variety of seeds and comparing growth speeds.
4) Draw Your Shadow
What You’ll Need
- Chalk
- Sidewalk or driveway
What to Do
- Go outside in the morning on a sunny day.
- Trace your child’s shadow.
- Place an X where your child is standing.
- Go back outside in the afternoon.
- Ask your child to stand on the X.
- Trace your child’s shadow again.
- Talk about how the angle of the sun changes the placement and size of a shadow.
5) Build a Fort
What You’ll Need
- Blankets
- Cardboard
- Clothespins or tape
- Sturdy furniture, like a couch
What to Do
- Help your child gather materials. (Make sure they know what furniture they’re allowed to use!)
- Ask your child questions as they plan their fort, like “Where is the best place to build it?” “How big do you want it to be?” and “How can you secure the walls?”
- Let your child take the lead as you build together.
- Emphasize trial and error, revising their plan, and process over product.
- Once the fort is finished, hang out in it to celebrate!
6) Put Together a Tinkering Tray
What You’ll Need
- Cardboard (tubes, boxes, etc.)
- Fabric
- String
- Blocks
- Tape
- Markers
What to Do
- Gather the materials with your child and place everything together at the table or on the floor.
- Guide your child in brainstorming what kind of invention they can create.
- Work together to build it.
7) Program with codeSpark
What You’ll Need
- Begin’s codeSpark app
What to Do
- Introduce your child to codeSpark, a word-free, learn-to-code program.
- Help your child access the online codeSpark classes to learn the basics of coding.
- Your child can then practice coding through games in the app.
- Once your child knows how to code, they can use the app to make their own games.
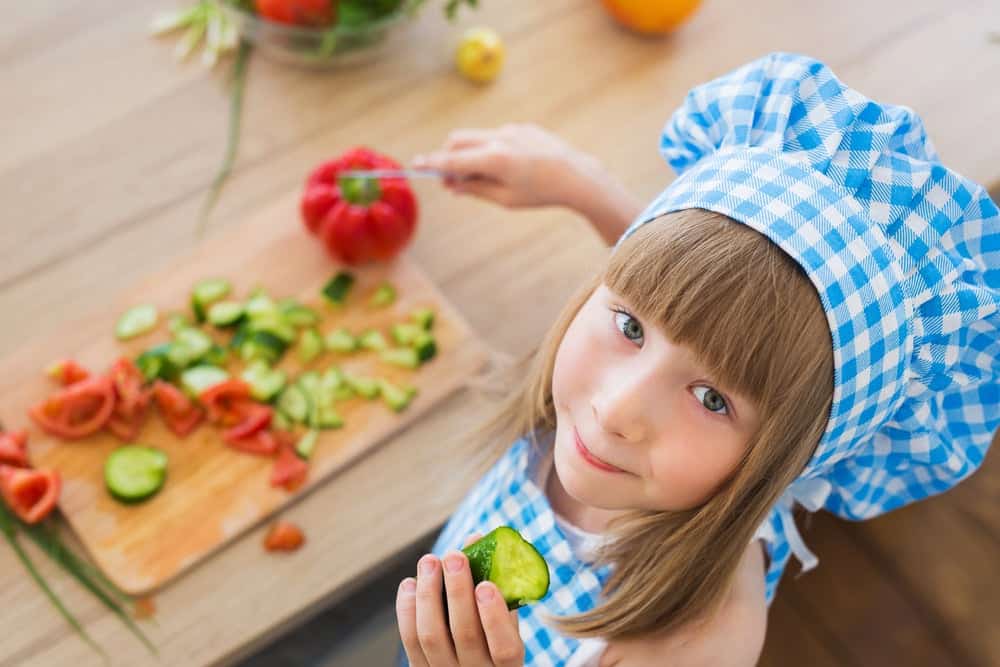
8) Cook in the Kitchen
What You’ll Need
- Recipe
- Ingredients
- Measuring spoons and cups
- Bowls
- Utensils
- Pot holders
What to Do
- Choose a recipe with your child.
- Gather all of the ingredients and tools.
- Follow the recipe’s step-by-step instructions. Depending on the age of your child, they can help by reading the recipe, measuring and pouring ingredients, mixing, and serving the finished product.
9) Design Ice Cube Jewels
What You’ll Need
- Ice cube tray
- Water
- Food coloring
- Salt
- Sugar
- Paper
- Pencil
- Spoon
- 3 Bowls
What to Do
- Pour water into the ice cube compartments and add a drop or two of food coloring to each.
- Freeze the ice cubes.
- Once they’re frozen, place four ice cubes into each bowl.
- Add a spoonful of sugar to one, a spoonful of salt to another, and nothing to the final bowl.
- Ask your child to make predictions about which bowl will melt first.
- Help your child record observations as you watch (every ten minutes or so).
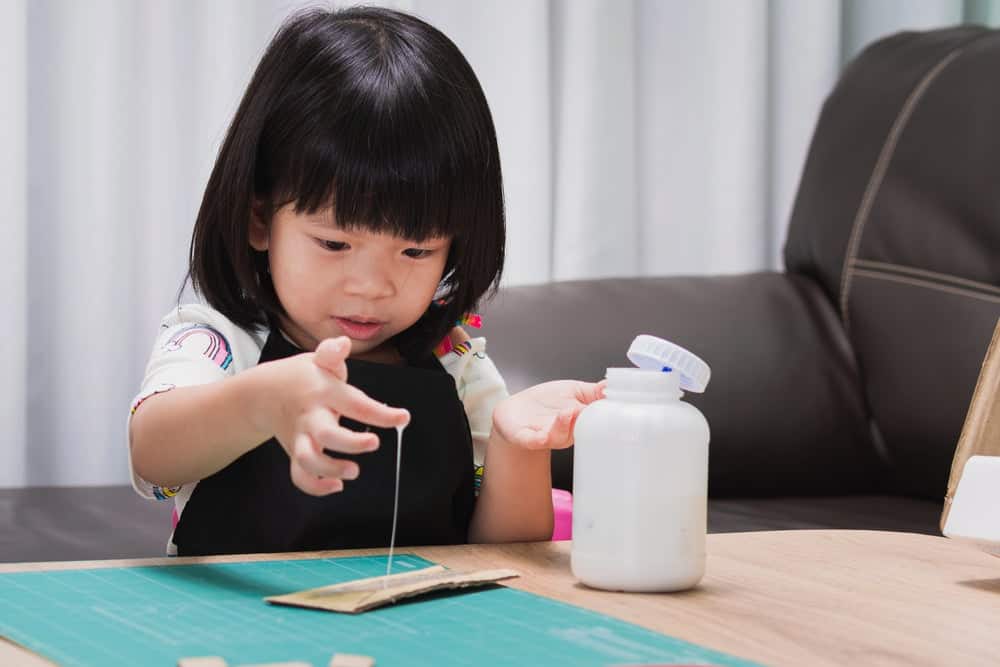
10) Make Water “Walk”
What You’ll Need
- Food coloring
- Cups
- Water
- Tissues
What to Do
- Fill six cups about one-quarter full with water.
- Place the cups in a close circle, and fill every other cup with food coloring: one blue, one yellow, and one red.
- Fold a tissue into a thin rectangle and place one end in one cup and one in the cup next to it. (For example, you’ll place one end of the tissue into the red cup and the other in the plain water cup next to it.)
- Do this five more times until every cup has two tissue ends in it.
- Watch the colors walk from one cup, across the tissue, and into another cup!
Tips for Successful STEM Experiences
Embrace the Mess
There’s no getting around the fact that many STEM activities are messy. But this is a great thing! It means your child is getting hands-on (sometimes whole body-on!) experience.
When your child absorbs a process through their senses, they’re nurturing creativity and problem-solving…and are having a whole lot of fun!
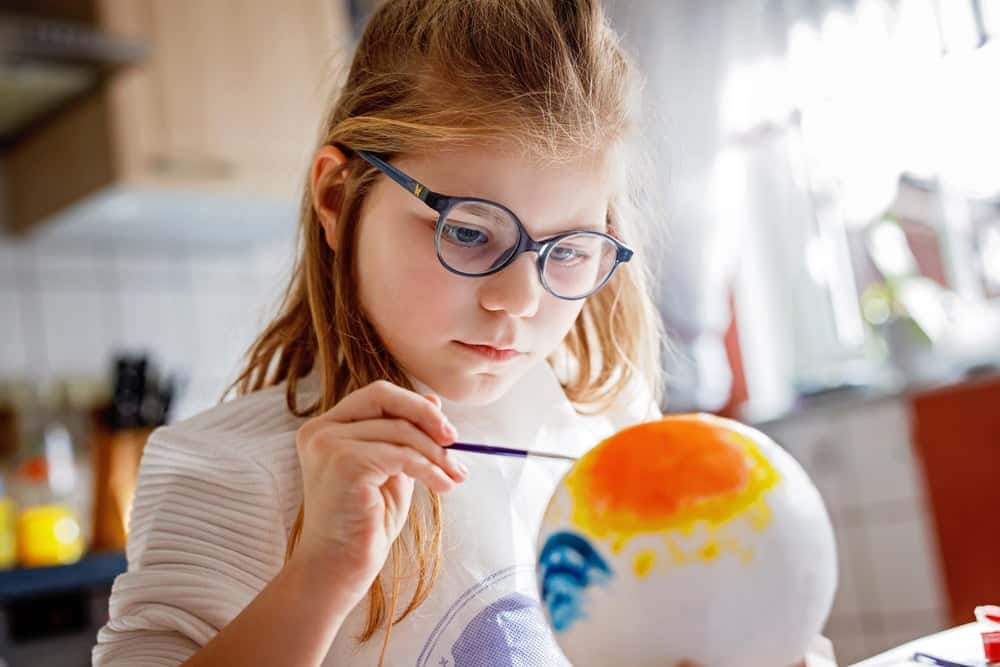
Connect Activities to the Real World
Some STEM activities you’ll plan, but be open to some arriving when you least expect them. Maybe you’re on a walk, your child touches a flower, the pollen rubs off on their fingers, and they get excited about painting with pollen. So you go home and paint!
Encouraging your child to explore creative possibilities wherever they find them helps instill a learning mentality that extends beyond typical educational environments.
Ask Open-Ended Questions
Create an avenue for critical thinking and problem-solving by asking your child open-ended questions. As they contemplate how to do something differently or explain why something happened in a particular way, they’re learning how to learn.
Let Your Child’s Interests Lead
If your child loves baseball, you might experiment with hitting different-sized balls. Or if they’re really into stars, you could project constellations onto the wall using a flashlight and pinpricked paper.
When your child brings their fascination to an activity, they are more engaged. And this engagement deepens their understanding of whatever they’re learning.
Emphasize Process over Results
Process is really the main point of all STEM activities. Your child tries new ideas, makes mistakes, and tries again. It’s this perseverance, developed through process, that broadens your child’s learning.
Foster Your Child’s Curiosity with Begin
There’s nothing like the spark of your child’s curiosity. When you see their wheels turning and feel their genuine excitement, you know deep learning is taking place.
We hope we’ve given you some ideas for STEM activities to spark your child’s interest. If you want more inspiration, try one of Begin’s award-winning programs. Check out our learning programs, and let us help ignite your child’s curiosity!
Frequently Asked Questions
What’s the best age for my child to start doing STEM activities?
It’s never too early for your child to begin doing STEM activities! Typically, kids start exploring STEM concepts between the ages of three and five years old, but it depends on the individual child. Whenever your child expresses interest is a great time to start.
Do I need to be good at math or science to do STEM activities with my child?
No. STEM activities aren’t designed to be taught as much as facilitated. And once you begin, you can step back a little and focus more on collaborating with your child. It’s also a great chance for you to model learning skills like curiosity and creativity, too.
Do I need to buy materials to do STEM activities?
Not at all. Most STEM activities can be done with items you already have around your house. And once you’ve done a few activities, you’ll be able to create your own based on exactly what you have!