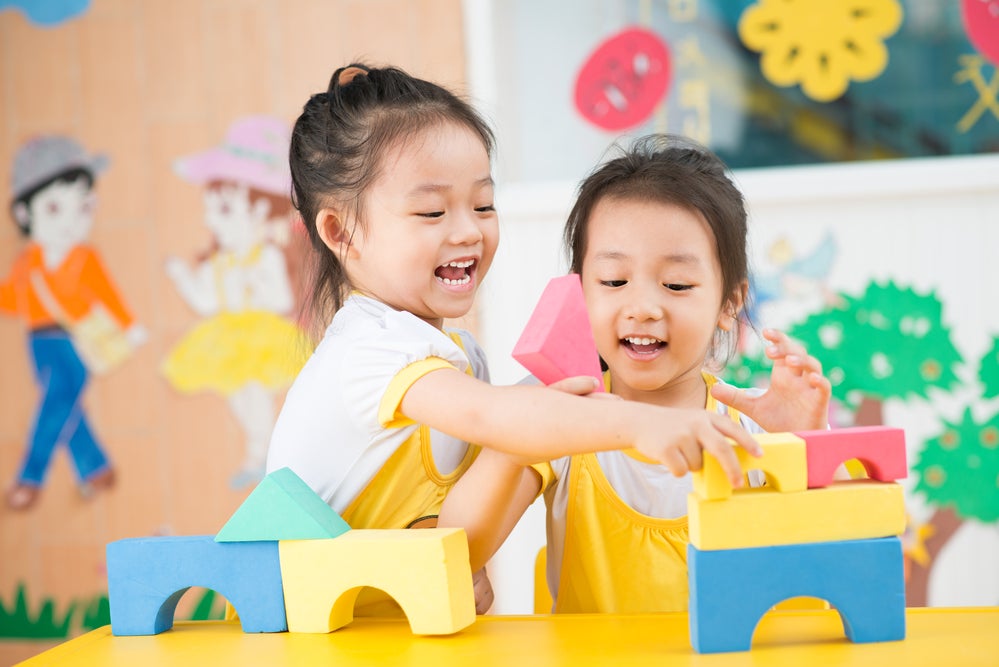
Preschoolers are creative superheroes. From age 3 to age 4, a kid’s artistic abilities explode (sometimes literally, if they’re dropping paint or a bucket of crayons!).
Their drawings become more recognizable, they may start to play pretend and invent friends or characters, and some kids start expressing themselves with clothes or makeup.
Kids’ natural Creativity (one of the 5 C’s that helps them thrive in school and life) is a wonderful thing.
It helps them innovate and adapt to change, and if they can maintain it as they get older, it’s one of the most in-demand skills in adulthood.
Most kids’ creativity starts to fade after preschool as their brains change and school becomes more academic and focused on finding the right answers.
Encouraging their creativity when they’re young can help them keep that magic through their school years and beyond!
Wondering how you can help? We’ve got your back with 5 DIY art activities preschoolers (and their parents!) love.
The Short Cut
- Art games and activities help preschoolers maintain their natural creativity
- The best art activities for 3- and 4-year-olds are open-ended and allow them to experiment and express themselves
- Many simple preschool art activities can be done at home for free with a few common materials
- Digital and hands-on creative art activities like the ones in Begin’s learning membership strengthen kids’ creativity and support other learning
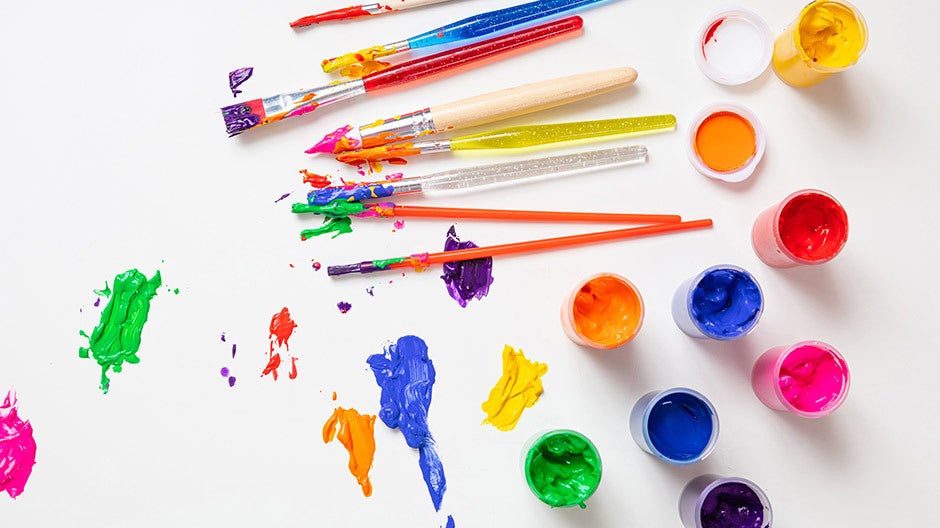
1. Finger Painting

What You Need
- Plastic, newspaper, or other covering
- Kid-safe finger paint
- Washable tray or small bowls
- Sheets of white or black paper
- String (optional)
- Clothespins (optional)
- Paper cups (optional)
What to Do
- Place plastic, newspaper, or another covering over the kids’ work area to prevent staining if they spill paint (which they likely will).
- Put each color of finger paint into the tray or bowls.
- Give each kid a sheet of paper.
- Show the kids how to dip their fingers into the paint and spread it around on their paper to make a design.
- Let them paint!
- When the kids are finished with their designs, the paint will need to dry before the pieces are finished.
Tips
- Dress kids in old clothes or use aprons to keep their clothes clean—most brands of kid-safe finger paint are washable, but they’re not always completely stain free.
- If you have white and black paper, encourage kids to experiment with each type to see how the colors look on different backgrounds.
- Keep the kids at their work area while they’re painting, and don’t forget they’ll need to wash their hands right away after finishing.
- You can let the art dry in place or line-dry it by hanging a string where the kids can see it and clipping the paper to it with clothespins (handy if you need to use the space for something else).
- Try going 3-D! If you have paper cups in the house, it can be fun to give the kids a chance to paint one of those as well.
2. Ping-Pong Ball Painting
What You Need
- Ping-pong balls
- Nontoxic acrylic paint (3–6 colors)
- Empty egg carton
- White paper
- One cardboard box per child (should be around the same size as the paper)
- Masking tape
- Craft supplies, markers, and pencils (optional)
- Picture frame (optional)
What to Do
- Pour one color of paint (about a tablespoon) into each of the egg carton’s holes. Dilute each color of paint with several drops of water, then stir it until it’s well mixed.
- Put a sheet of white paper at the bottom of each cardboard box. Tape down the edges to keep the paper secure.
- Have each kid put a ping-pong ball into one of the holes in the egg carton (it should float), and gently spin the ball to coat it. Repeat the process until you have a paint-covered ball for each of your colors. Wash the kids’ hands between colors if you want to keep them from mixing.
- After the balls are covered in paint, add them to the box containing the paper and close it.
- Tape the box shut (otherwise the next step may make a mess).
- Make some art! Tell the kids to shake their boxes—as they do, the ping-pong balls will bounce around, making fun designs on the paper. Let the kids shake as long as you’d like, then open the box and check out their masterpieces!
3. Paper Bag Puppets
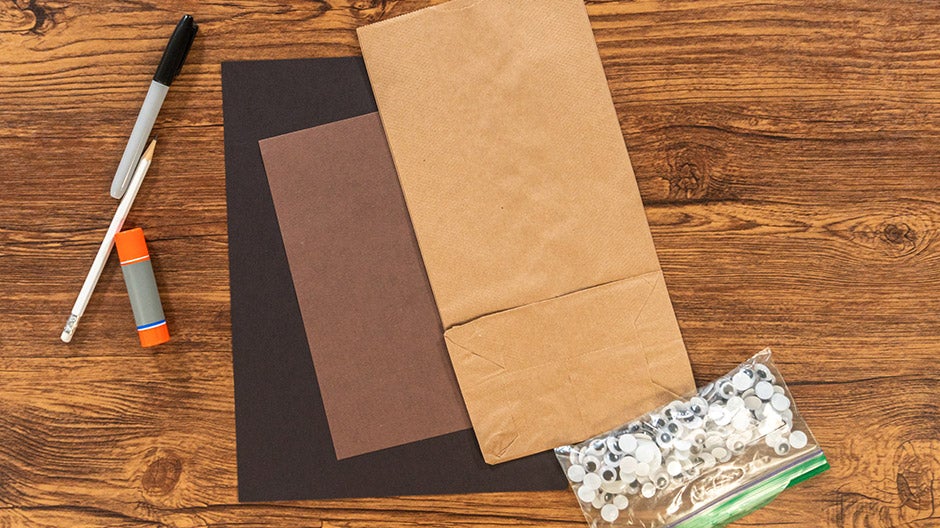
What You Need
- Paper lunch bags, 1 per child
- Markers, crayons, or colored pencils
- Colorful construction paper
- Kid-safe scissors
- Glue
- Yarn, googly eyes, and other decorations (optional)
What to Do
- Give each child a paper lunch bag.
- Leaving the bag folded, encourage the kids to draw a basic face on the bottom of the bag—two eyes, a nose, and a mouth is pretty good for this age group! To make the best puppet, half the mouth should be on the bottom of the bag, and half should be on the main part of the bag.
- Let the kids experiment with cutting out small pieces of construction paper, then help them glue the pieces of paper to the bags to decorate. You’ll probably end up with a hodgepodge of shapes, and that’s OK!
- If you want to, let the kids add yarn to the top of the bag’s “face” for hair, or glue googly eyes onto the bag. Let them be creative—it’s okay if they put them in the “wrong” place!
- To make the bag into a puppet, show the kids how to put their hand inside, then lift up the bottom of the bag partway so the puppet’s mouth opens and it appears to “talk.”
- Once the puppets are finished, use them to tell stories together. Start with a simple prompt like “Once upon a time there was a very brave ____” or “Let’s tell a silly story about a ____. One day the ___ was…” See if the kids can act out the story with the puppet as you tell it!
Tips
- This activity is easier for kids to understand if they have a model. Try making your own puppet ahead of time, or make a quick one while they watch to demonstrate what they’re aiming for.
- Preschoolers often won’t put the mouth on the right part of the bag to make it open. That’s OK! Most kids at this age aren’t master puppeteers anyway. The puppet can still nod, shake its head, and jump up and down or wiggle when excited. The puppet doesn’t need a working mouth for the kids to enjoy playing pretend. So focus on having fun!
4. Bubble Glazing

What You Need
- Plastic, newspaper, or other covering
- White cardstock
- Dish soap
- Tempera paint (washable and nontoxic)
- 1 small plastic cup for each color of paint
- 1 plastic straw for each color of paint (it can help to have a few extras on hand)
- Paper
What to Do
- Cover your work area with plastic, newspaper, or another covering—there’s a high chance of preschoolers spilling paint bubbles over the top of their cups during this activity.
- Set out a cup for each color of paint you want to use.
- In each cup, mix together ½ cup of water, a teaspoon of paint, and a big squirt of dish soap.
- Repeat until you have a cup for each of your colors.
- Let the kids stick a straw into a colored paint mixture, then blow into the straw. Bubbles should form pretty quickly.
- Have the kids keep blowing until the bubbles rise above the top edge of the cup.
- Ask each kid to put a sheet of paper on top of a cup, then pull it off. You should see a cool, colorful pattern created by the bubbles!
Tips
- Encourage the kids to try different ways of making bubble art—what happens if they use lots of different colors on one sheet of paper? What happens if they use the same color over and over again? This extra step helps kids develop the skill of scientific thinking. You can even introduce the term “hypothesis” as the kids make predictions about what will happen.
5. Sticker Collage
What You Need
- Cardstock
- Scissors
- Kid-favorite stencils (animals, magical creatures, vehicles, etc.)
- Construction paper
- Paper clips
- Lots of stickers
What to Do
Before You Start
- Lay a stencil your kid will like (an animal, unicorn, spaceship, etc.) over the top of a piece of cardstock.
- Cut around the edges of the stencil, leaving an open space in the shape of the stencil in the cardstock. An adult should do this step (3- and 4-year-olds usually aren’t precise enough with scissors yet).
- Repeat with several stencils so the kids have options to choose from.
With Your Kids
- Have the kids pick out a piece of construction paper in a color they like.
- Show the kids the cardstock blanks you prepared earlier and let them pick one to use.
- Help the kids lay their blanks over their construction paper so that the paper shows through the open space in the cardstock, then anchor the blank in place with paper clips so it doesn’t move around as the kids work.
- Let the kids put as many stickers as they want on the construction paper through the cardstock blank.
- Remove the cardstock blank—now the kids have a sticker collage in the shape of one of their favorite things!
Tips
- Encourage the kids to get creative. What happens if they use multiple stencils on the same piece of paper? Can they still see the designs? Does it turn into a hodgepodge of stickers? Do they get a half-horse, half-bulldozer? What can they make?
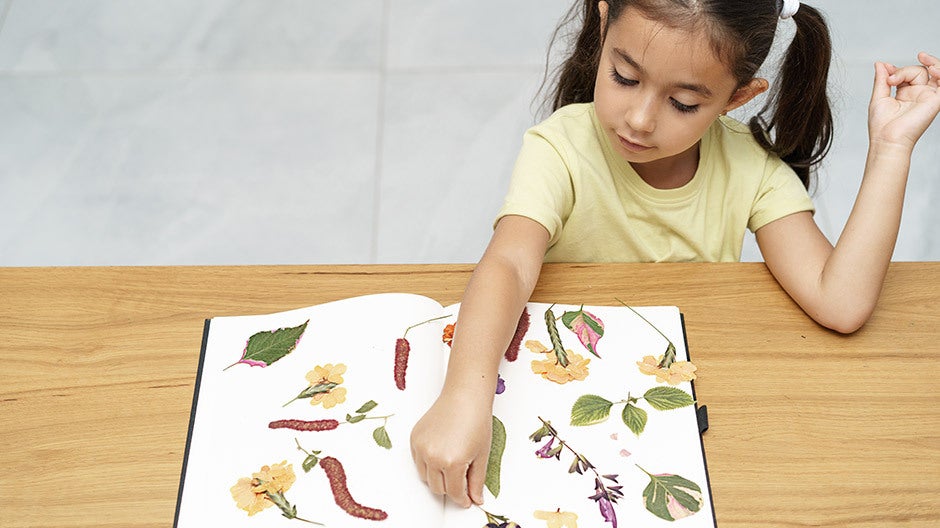
6. Nature Collage
What You Need
- Outdoor space to hunt for materials (or materials pre-collected by an adult)
- Pouches or containers for kids to store their materials in
- Contact paper
- Scissors, hole punch, string (optional)
What to Do
- Explain to the kids that you’re making art collages out of natural materials. It can help to show them an example.
- Take the kids outside to hunt for materials.
- As the kids collect, have them put their materials into their pouches or containers.
- Head back inside and give each kid a piece of contact paper. Help them lay it face down and peel the backing off.
- Show the kids how to place their materials onto the sticky side of the contact paper.
- When the kids are finished placing their materials, help them lay a second piece of contact paper over the top, sticky side down, to seal their collage in place.
- Help them find somewhere to display their work!
Tips
- You may need to give some guidance on which materials work well (flowers, grass, leaves, and other small, flat, and light materials) and which don’t (rocks, sticks, and other large, round, or heavy materials).
- If you’re short on time or don’t have a good outdoor space, you can collect materials for the kids to work with ahead of time and explain where you found them.
- If you want, let the kids trim their collage into a unique shape once it’s finished, or punch a hole in it and thread a string through so that it can be hung as a decoration.
Other Ways to Get Creative with Begin
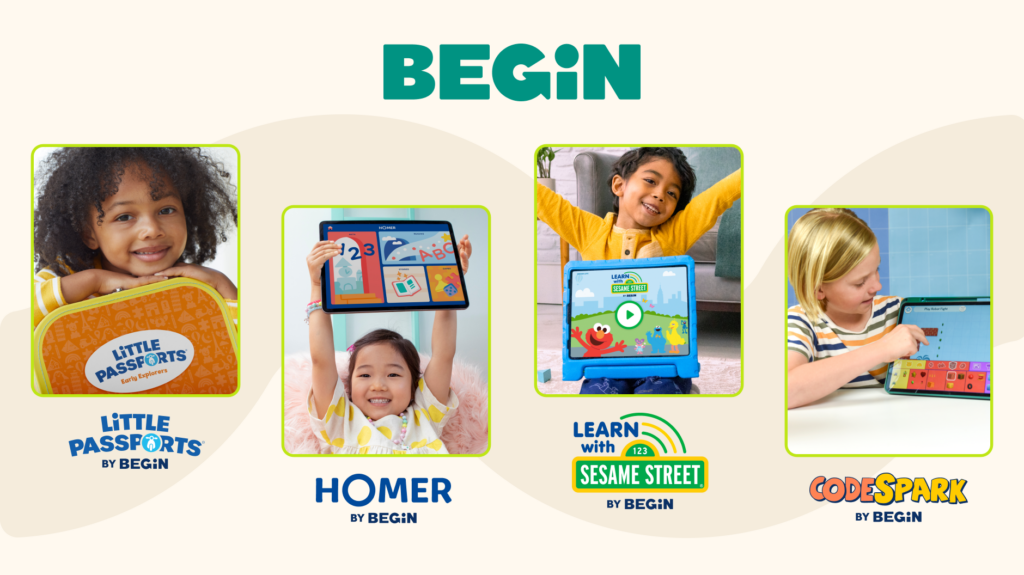
At Begin, we know supporting Creativity makes a huge difference in kids’ lives. We believe in it so much that we build opportunities for creative play into every stage of our comprehensive learning membership for kids 2–10.
Whether kids are making collages and painting pictures in HOMER, exploring world art or making crafts in a Little Passports kit, or building their own video game levels in codeSpark, they’ll have plenty of research-backed, expert-designed chances to let their creativity flourish in every membership.
Take our quiz and find the right match for your child today!