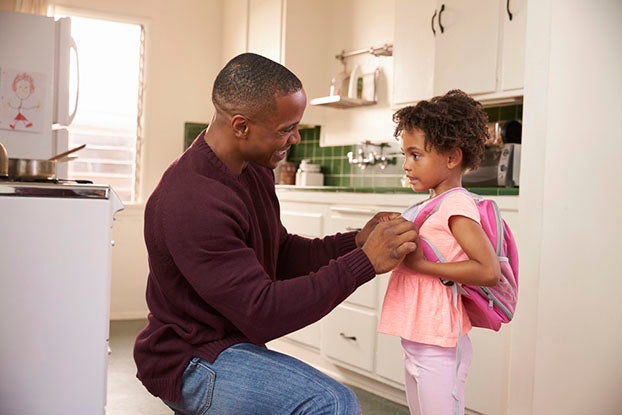
When the weather outside is cold or wet, it’s a great time to have fun indoors with a simple snowman craft for kids! Crafts help build Creativity, one of the 5 C’s at the heart of the Begin Approach to helping kids thrive in school and life.
The Short Cut
- Creativity helps kids solve problems, come up with new ideas, and deal with changes
- Craft projects build creativity by encouraging kids to look at objects in new ways, see how things come together, and try new ideas
- Indoor craft projects like making snowmen are a great activity for kids during the colder months of the year
These three cheerful snowman crafts are fun to make and can be awesome DIY holiday gifts for a kid’s friends and loved ones. Enjoy!
1. Clothespin Snowman
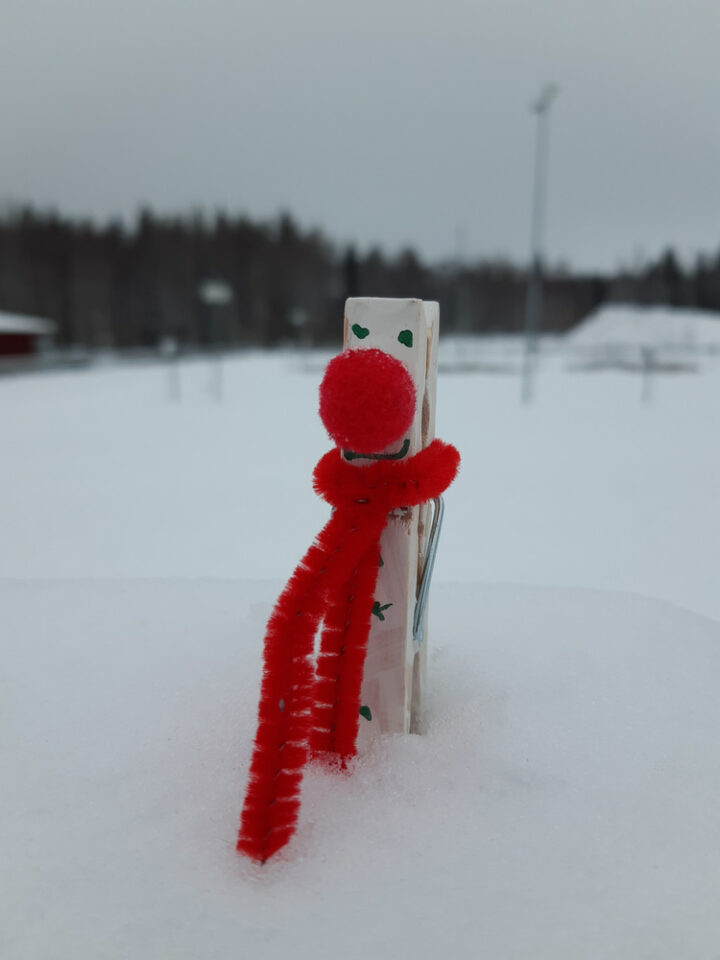
Clothespin snowmen make excellent DIY decorations or add fun flair to holiday cards. They’re quick and easy to make, so kids can create a handful!
What You Need
- Wooden clothespins
- Yarn or pipe cleaners in your kids’ favorite colors
- Kid-safe glue
- Mini pom-poms
- White paint
- Small paintbrushes
- Black markers
- Child-safe scissors
What to Do
- Paint the clothespins white on all sides. The paint can “glue” the clothespins shut if it goes on too thick, so go lightly and open and close the pins a few times while they dry.
- After the paint dries, wrap a pipe cleaner or piece of yarn around each of the clothespins above the metal coil to form a cozy scarf, then glue it to the clothespin.
- Use a black marker to draw eyes, a mouth, and three buttons on one side of each clothespin, leaving space for a nose.
- Glue a mini pom-pom between the snowman’s eyes and mouth as a nose.
Ta-da! Enjoy your cute little clothespin snowmen. If you don’t have clothespins handy, empty toilet paper rolls work well as a substitute.
2. Alphabet Block Snowman
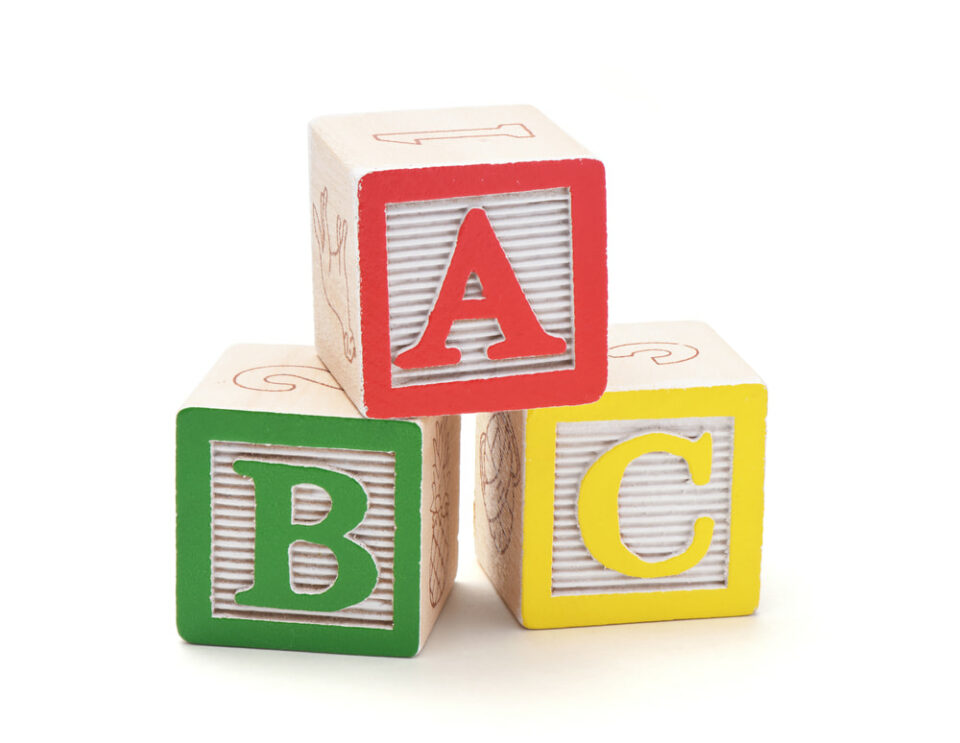
This one can get a little messy! Make sure the kids are wearing smocks or clothes you don’t mind them getting paint on.
What You Need
- Wooden alphabet blocks
- Nontoxic acrylic paint in white, black, and orange
- Decoupage glue (like Mod Podge)
- Paintbrushes (assorted sizes)
- Fabric scraps (optional)
What to Do
- Paint three alphabet blocks on all sides with white acrylic paint. Let the blocks dry completely before moving on to the next step.
- Use black paint and a small paintbrush to paint eyes and a mouth on one block (the snowman’s head) and buttons down the other two blocks (the snowman’s body). Encourage kids to get creative with the snowman’s expression!
- Use orange paint to create a carrot nose on the snowman’s face.
- Let the blocks dry.
- Seal the blocks with a decoupage glue and let them dry for 15–20 minutes. An adult should perform this step.
Once dry, the blocks are fully stackable—not to mention adorable. They’re great for Creativity because you can make blocks with different faces, buttons, and scarves and let the kids mix and match.
3. Snowman Bookmarks
These snowmen are a wonderful craft to keep kids company as they explore reading over the colder months of the year. They also make great gifts!
What You Need
- Thin cardboard (like a cereal box)
- White cardstock
- Child-safe scissors
- Colored pens or pencils
- Paper clips
- Glue sticks
- Patterned cardstock (optional)
- Baker’s twine (optional)
- Packing tape (optional)
What to Do
- Create a snowman out of cardboard by drawing two small circles on top of one another and cutting the shape out. You now have a stencil!
- Using the stencil, help your kids trace and cut out two snowmen from the white cardstock for each bookmark you want to make.
- Have the kids decorate half the snowmen with pens or colored pencils. Encourage outside-the-box thinking—a winter scarf is fun, but so is a Hawaiian shirt, a uniform from a favorite sports team, or a character from a beloved game or TV show.
- Tape a paper clip at the bottom of each snowman so half of the clip is sticking out and can be secured to the page of a book.
- Using a glue stick, attach the blank snowmen to the back of the decorated ones.
You’re done! The paper clip end of the snowman holds your place in the book while the snowy friend pokes out of the top.
To add mittens, cut a mitten stencil from the same cardboard you used for the snowmen. Use it to cut several mittens from the patterned cardstock. Cut a short (roughly 5-inch) piece of twine and fold it in half.
Put the two ends of the twine through the bottom arc of the paper clip, and then run them through the loop at the opposite end of the twine and pull tight to secure the twine to the paper clip. Then glue the mittens to the ends of the twine.
There should be two mittens secured back-to-back with the twine sandwiched between them on each strand. Your snowmen now have dangling mittens!
Building Creativity with Begin

At Begin, we know Creativity is important for kids no matter the season, and we build opportunities for it into our award-winning learning products. Whether kids are exploring the world through hands-on crafts with Little Passports, making stories and digital art in HOMER, or creating their own video game levels in codeSpark, we’ve got your family covered.
Check out our Early Learner Program to see how our products can come together to help develop all 5 C’s.